One of the main reasons I wanted to do this project was because a beloved class that envolved reversengineering a tractor had been cancled. Most of the upper classmen I had talked to claimed it was the funnest and most impactful courses they took. I didn’t want to miss out on that experience so I took up this project.
What I did
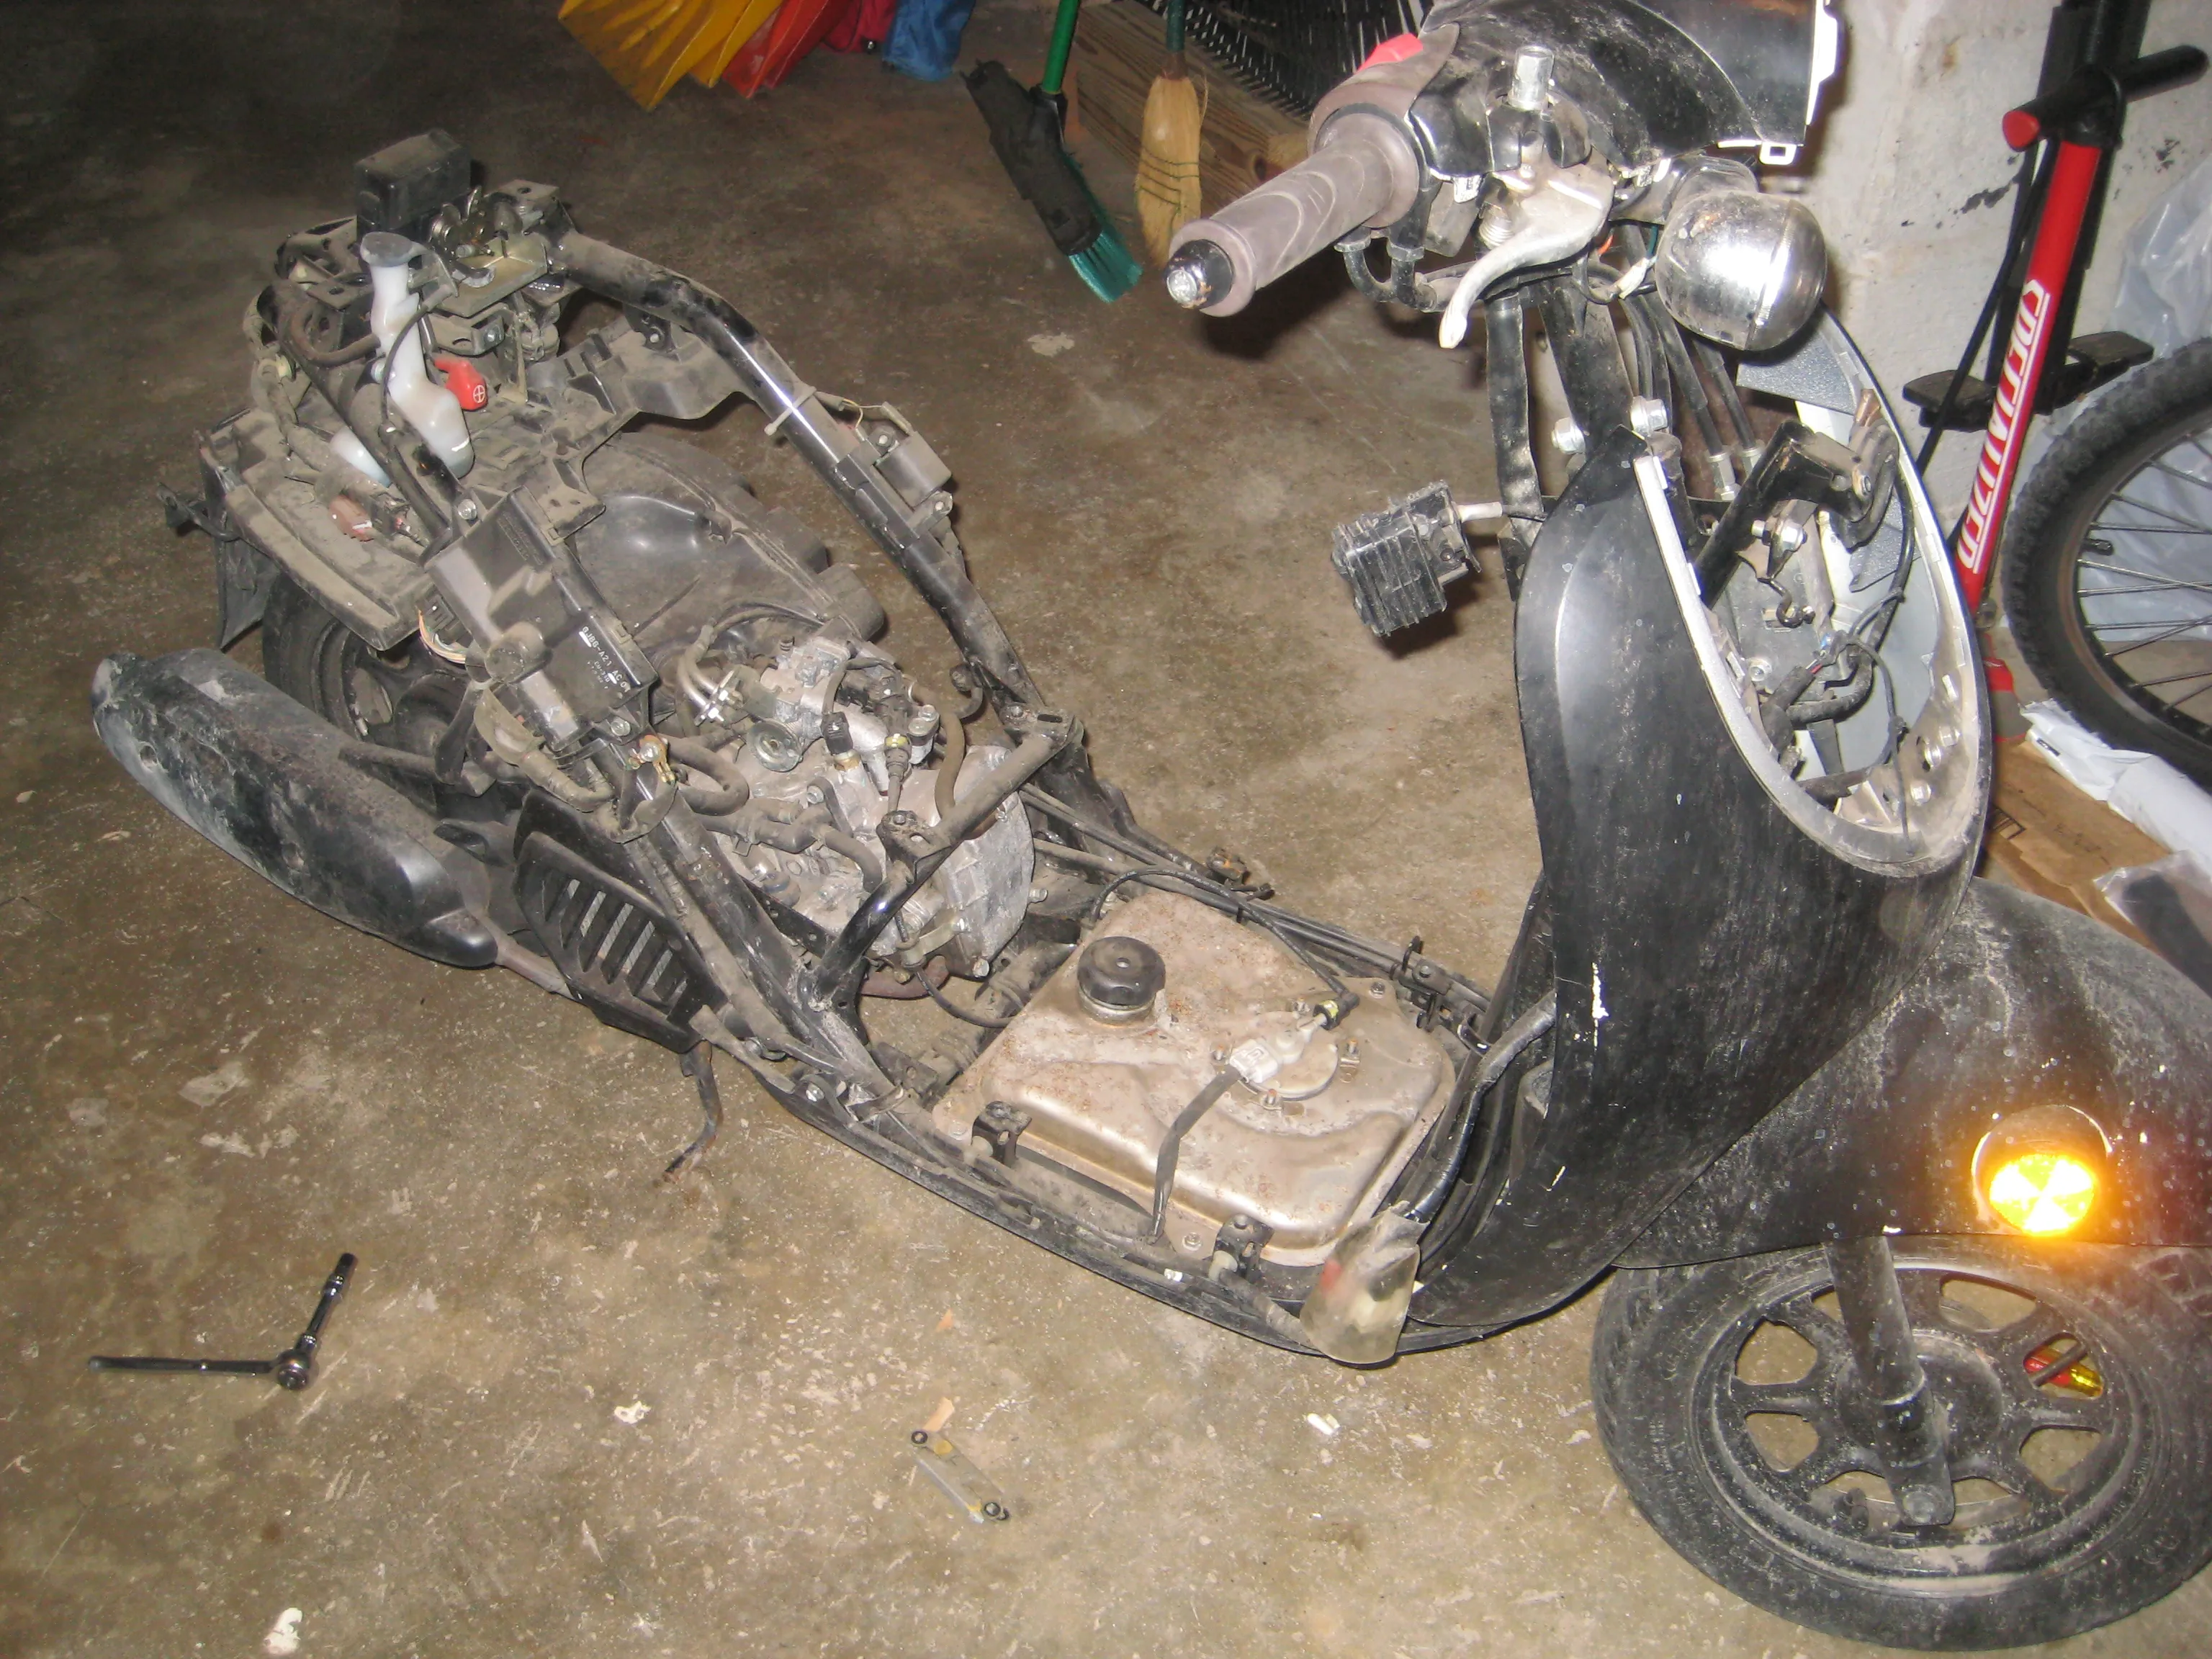
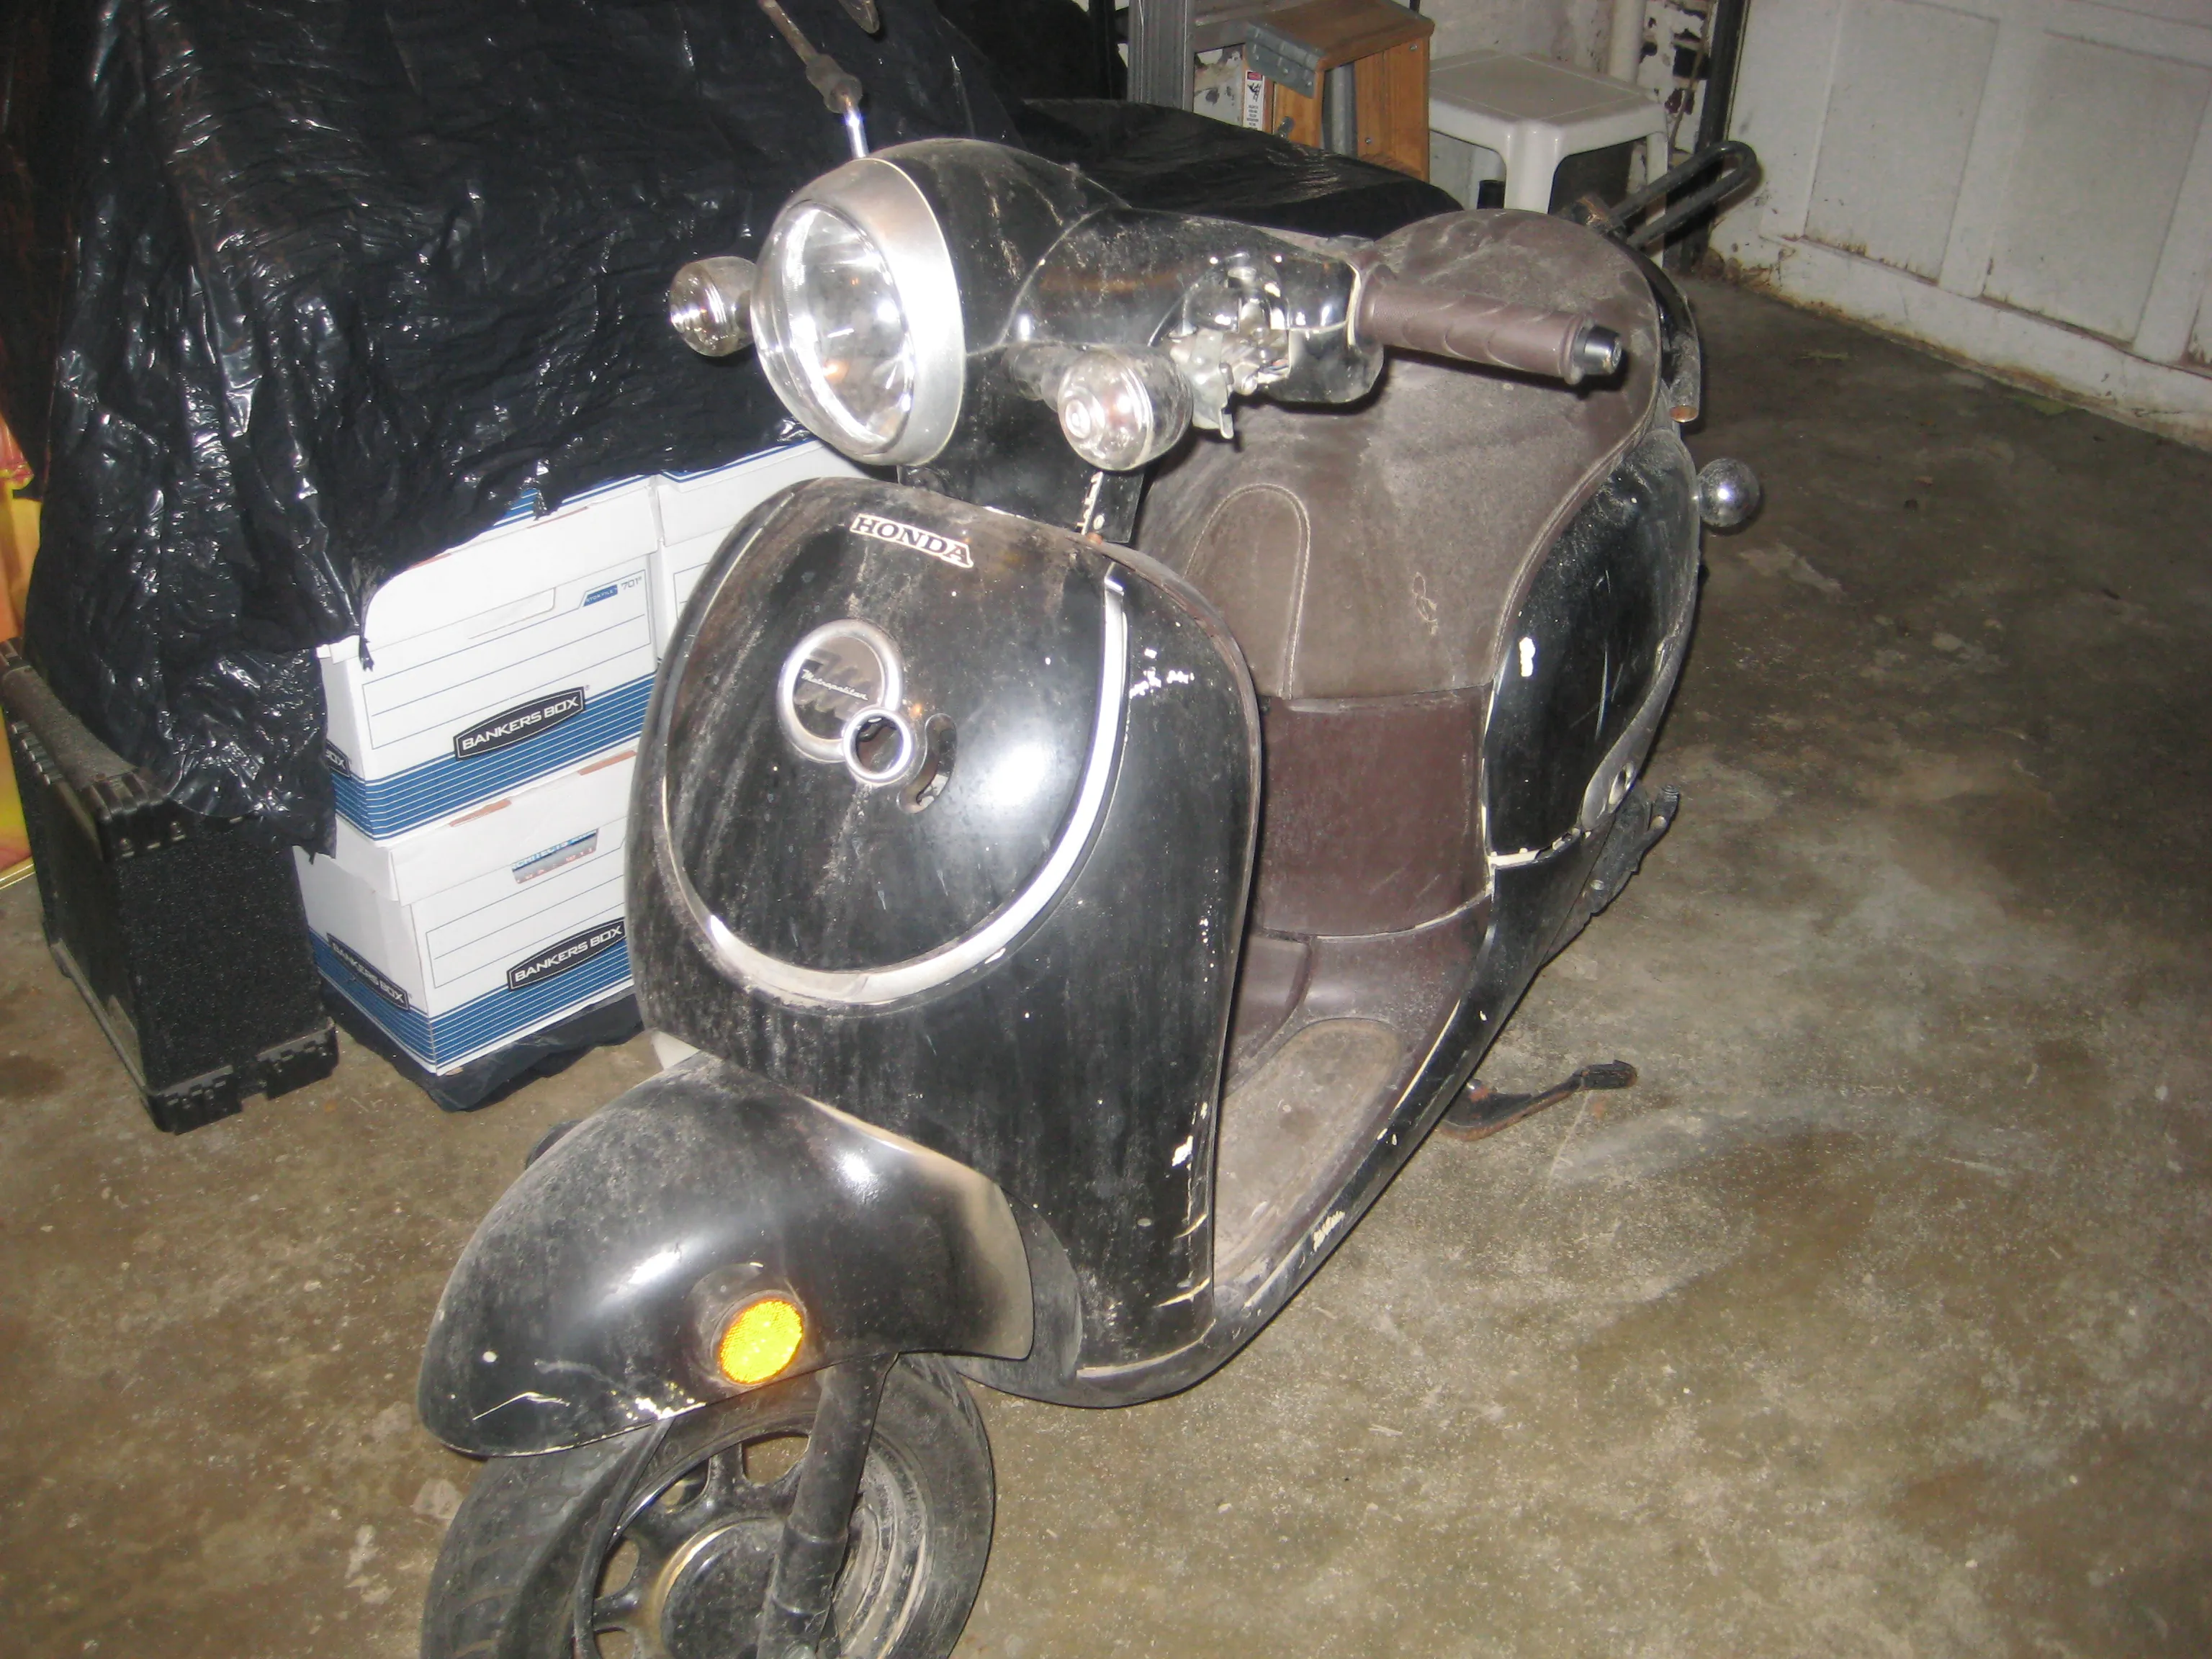
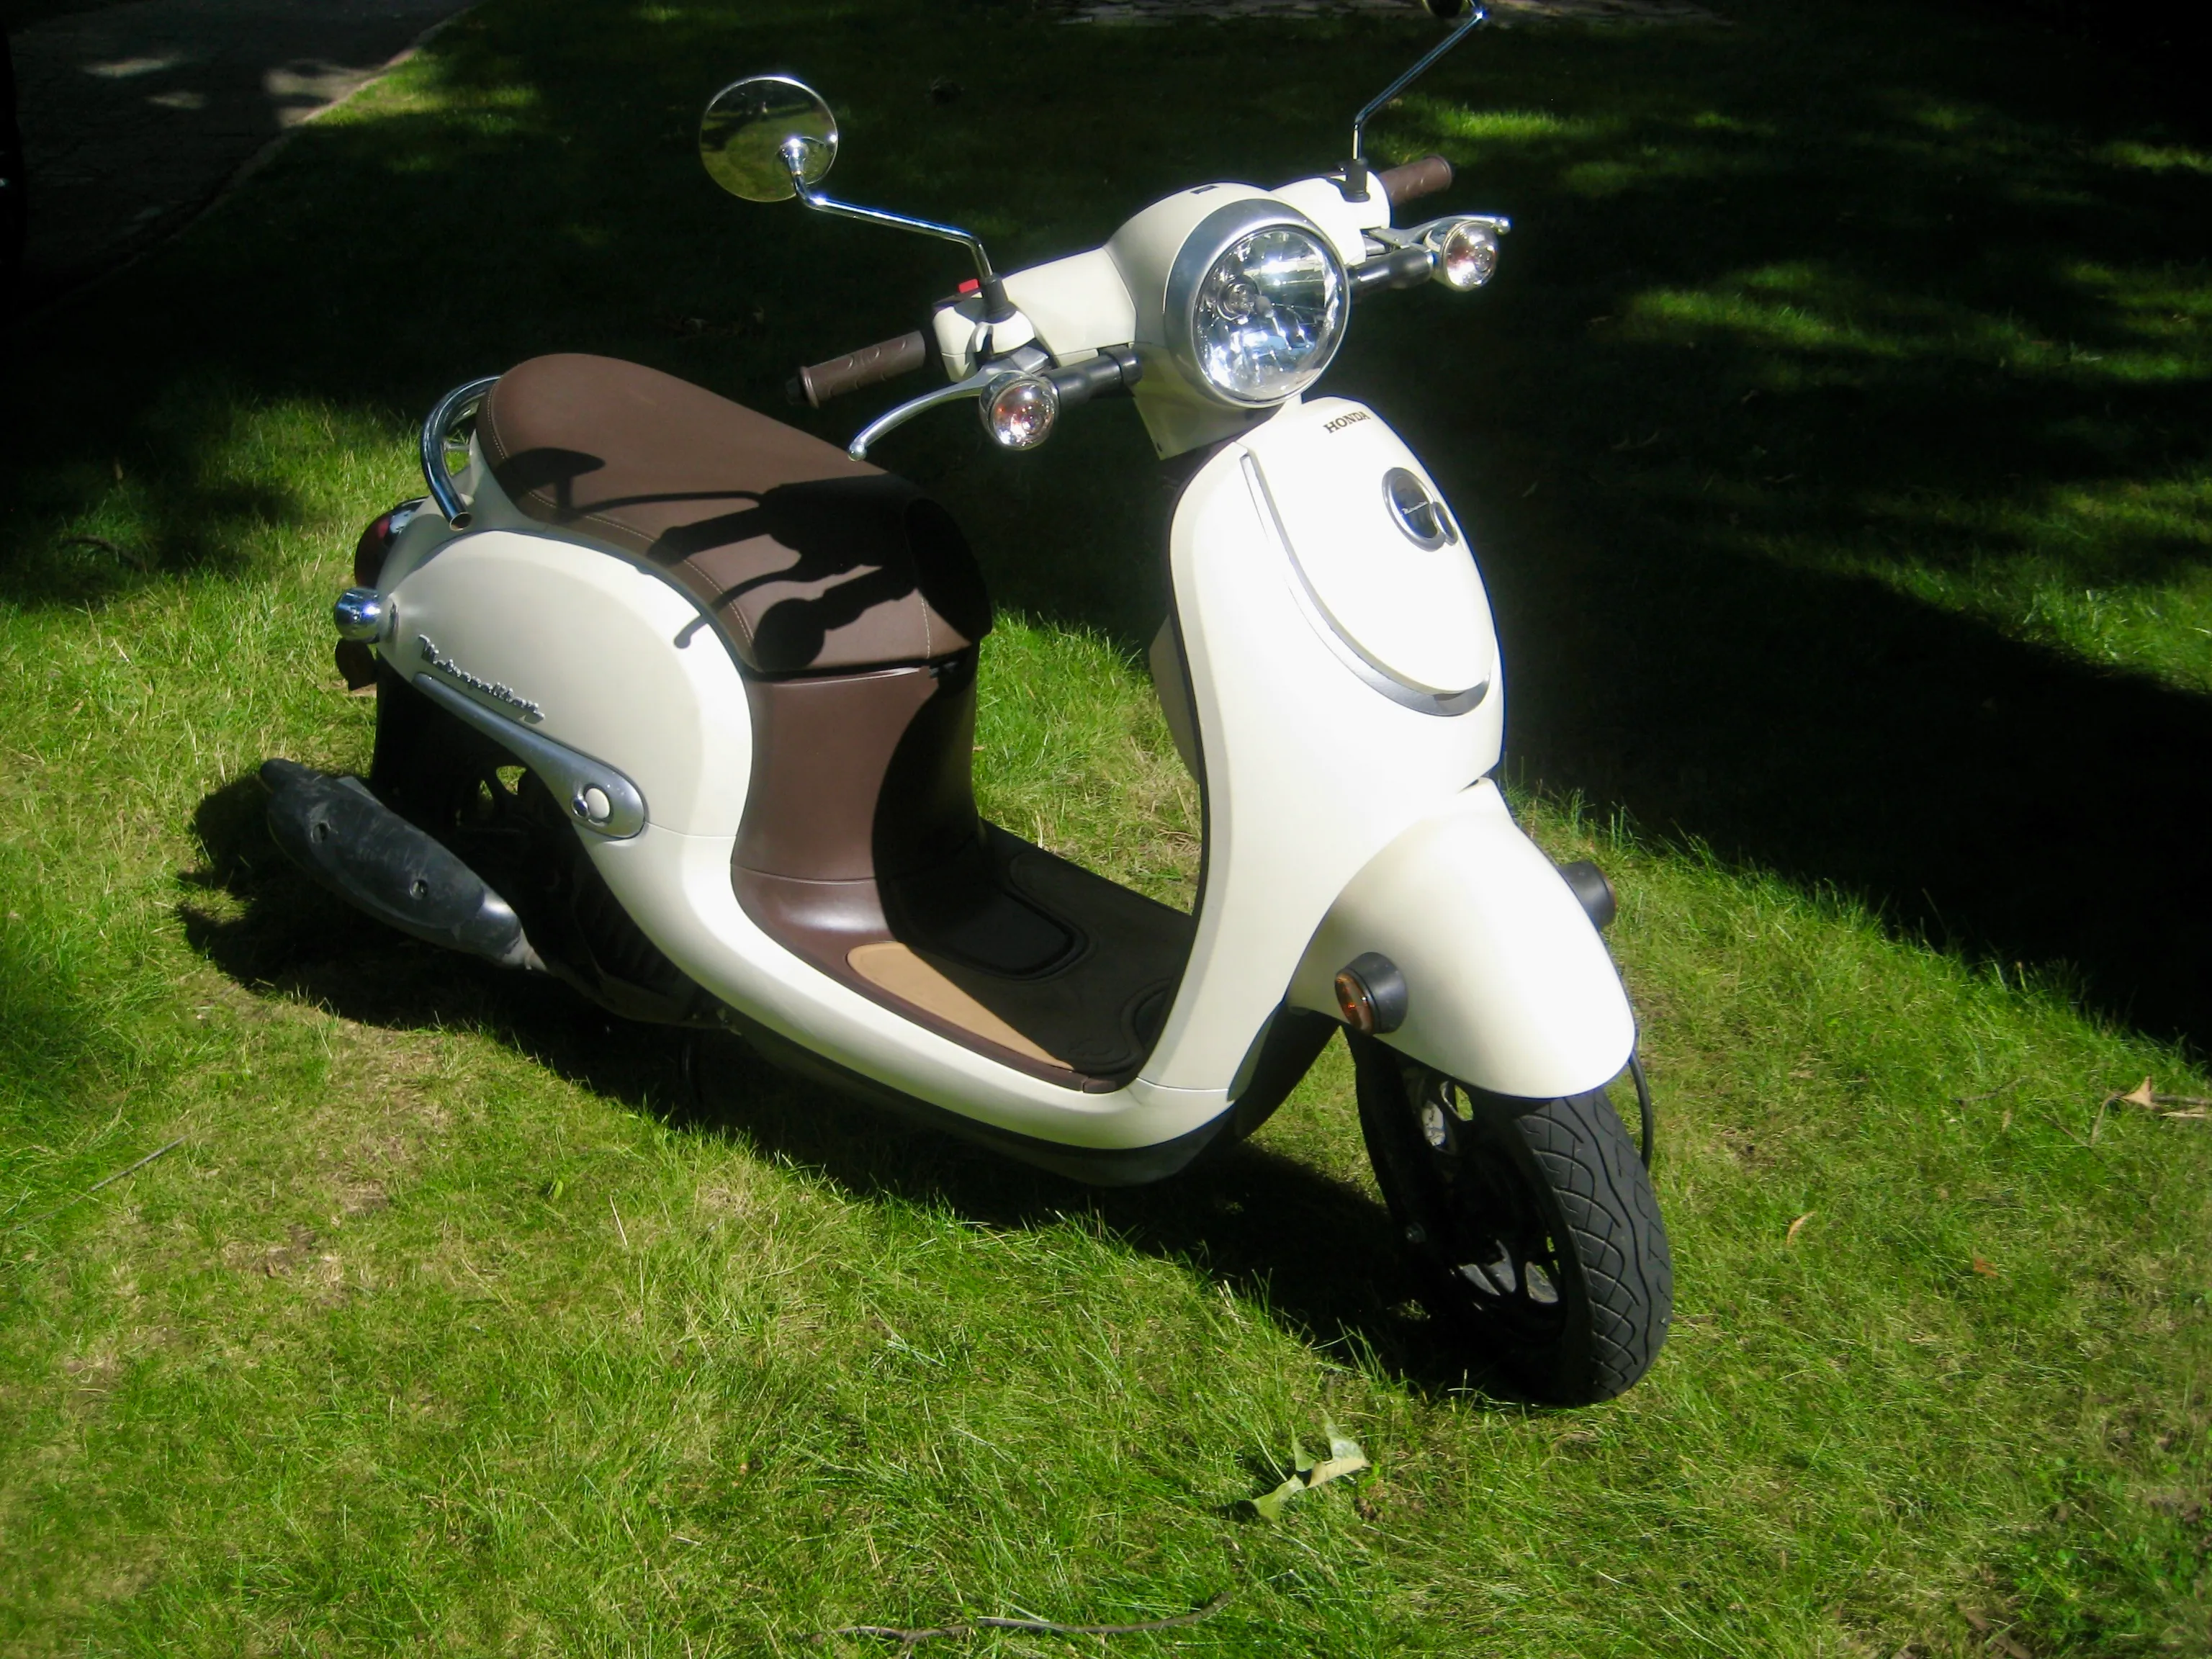
Over my freshman summer I took a personal challenge to restore a non-running, neglected, and fire damaged moped to working condition. The picture to the right is what the moped looked like when I first got it. I had never worked on a motor vehicle before this project, so I relied very heavily on a service manual and some YouTube videos.
The first thing I did was making sure the engine turned over by pushing on the kick starter. After I confirmed the engine turned over, I remove all the body panels so that all the wiring and mechanical components were exposed.
Inspecting the internals I found that the air filter had basically disintegrated, the fuel lines weren’t much better, one of the mirrors and brake handles were missing, and there was no gas or oil in the tank or engine. I later found that were was a crack in the right crank case which is probably where all the oil went.

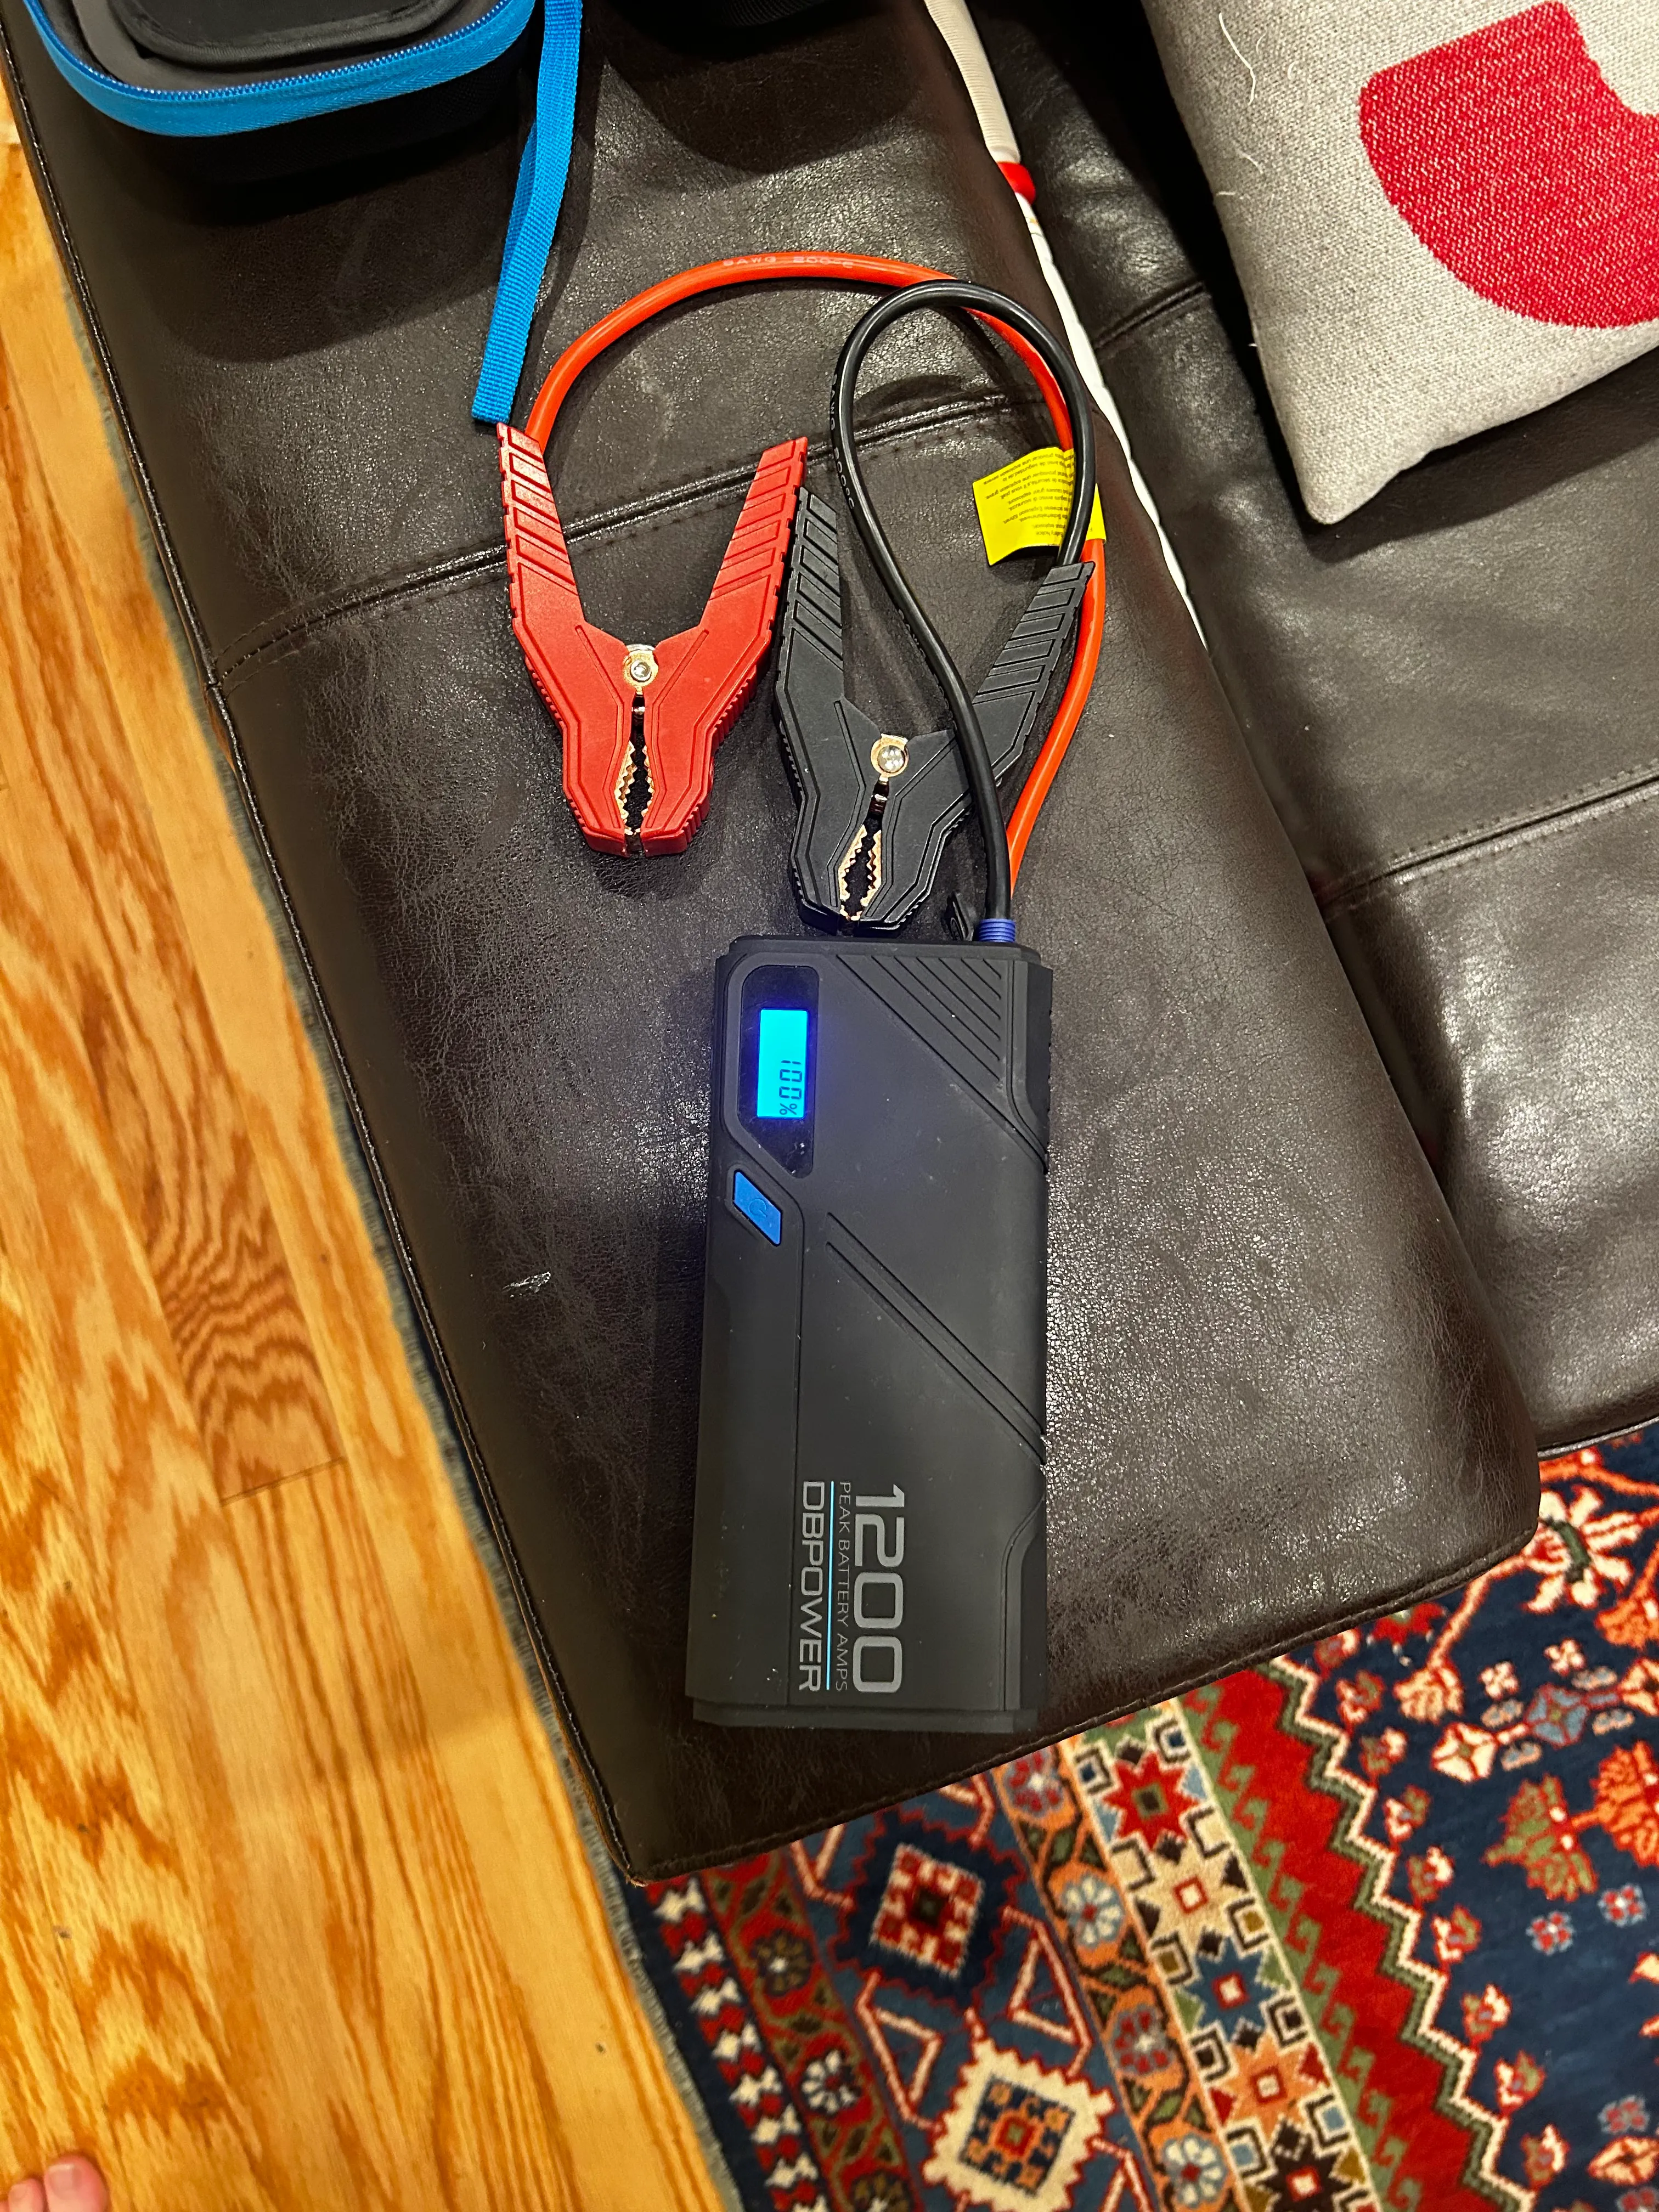
I added gas and new fuel lines and checked the voltage of the battery. As expected the battery was dead, so I ordered a new $20 one. While I waited for the new battery to be delivered, I used a small handheld jumper, which gave me around thirty seconds of power for every discharge.
I wanted to get the engine running. An engine requires fuel, compression, spark and timing. I know I had fuel, and assumed timing and compression were fine so I need to check that I had spark. I tried to do this by using the electric start, but got no spark. This told me there was either an electrical problem coming from the electric start or there was a problem with the spark plug. To determine the culprit I used the kickstart instead of the electric start. I was able to get a spark from the kickstart so I knew the issue was with the electric start.
Using the wiring diagram and section titled “electric start trouble shoot” from the service manual I ran through a twelve-step check list. From this I found a blown fuse and a discontinuity in one of the lines. Replacing the fuse and using solder to fix the short along with cleaning the dust from all the connection I was able to get a spark using the electric start. This also let me crank the engine wayyy more effectively.
My next step would have been disassembling and cleaning the carburetor; however, this moped uses fuel injection, so I just quickly cleaned the inside with carb cleaner and let it sit overnight. Next I reset the valve clearances using a feeler gauge. After these steps along with using carb cleaner as a form of starter fluid I was able to get the moped to almost run although, but it wouldn’t ideal. I resolve this by resetting the ideal air screw to the factor height.
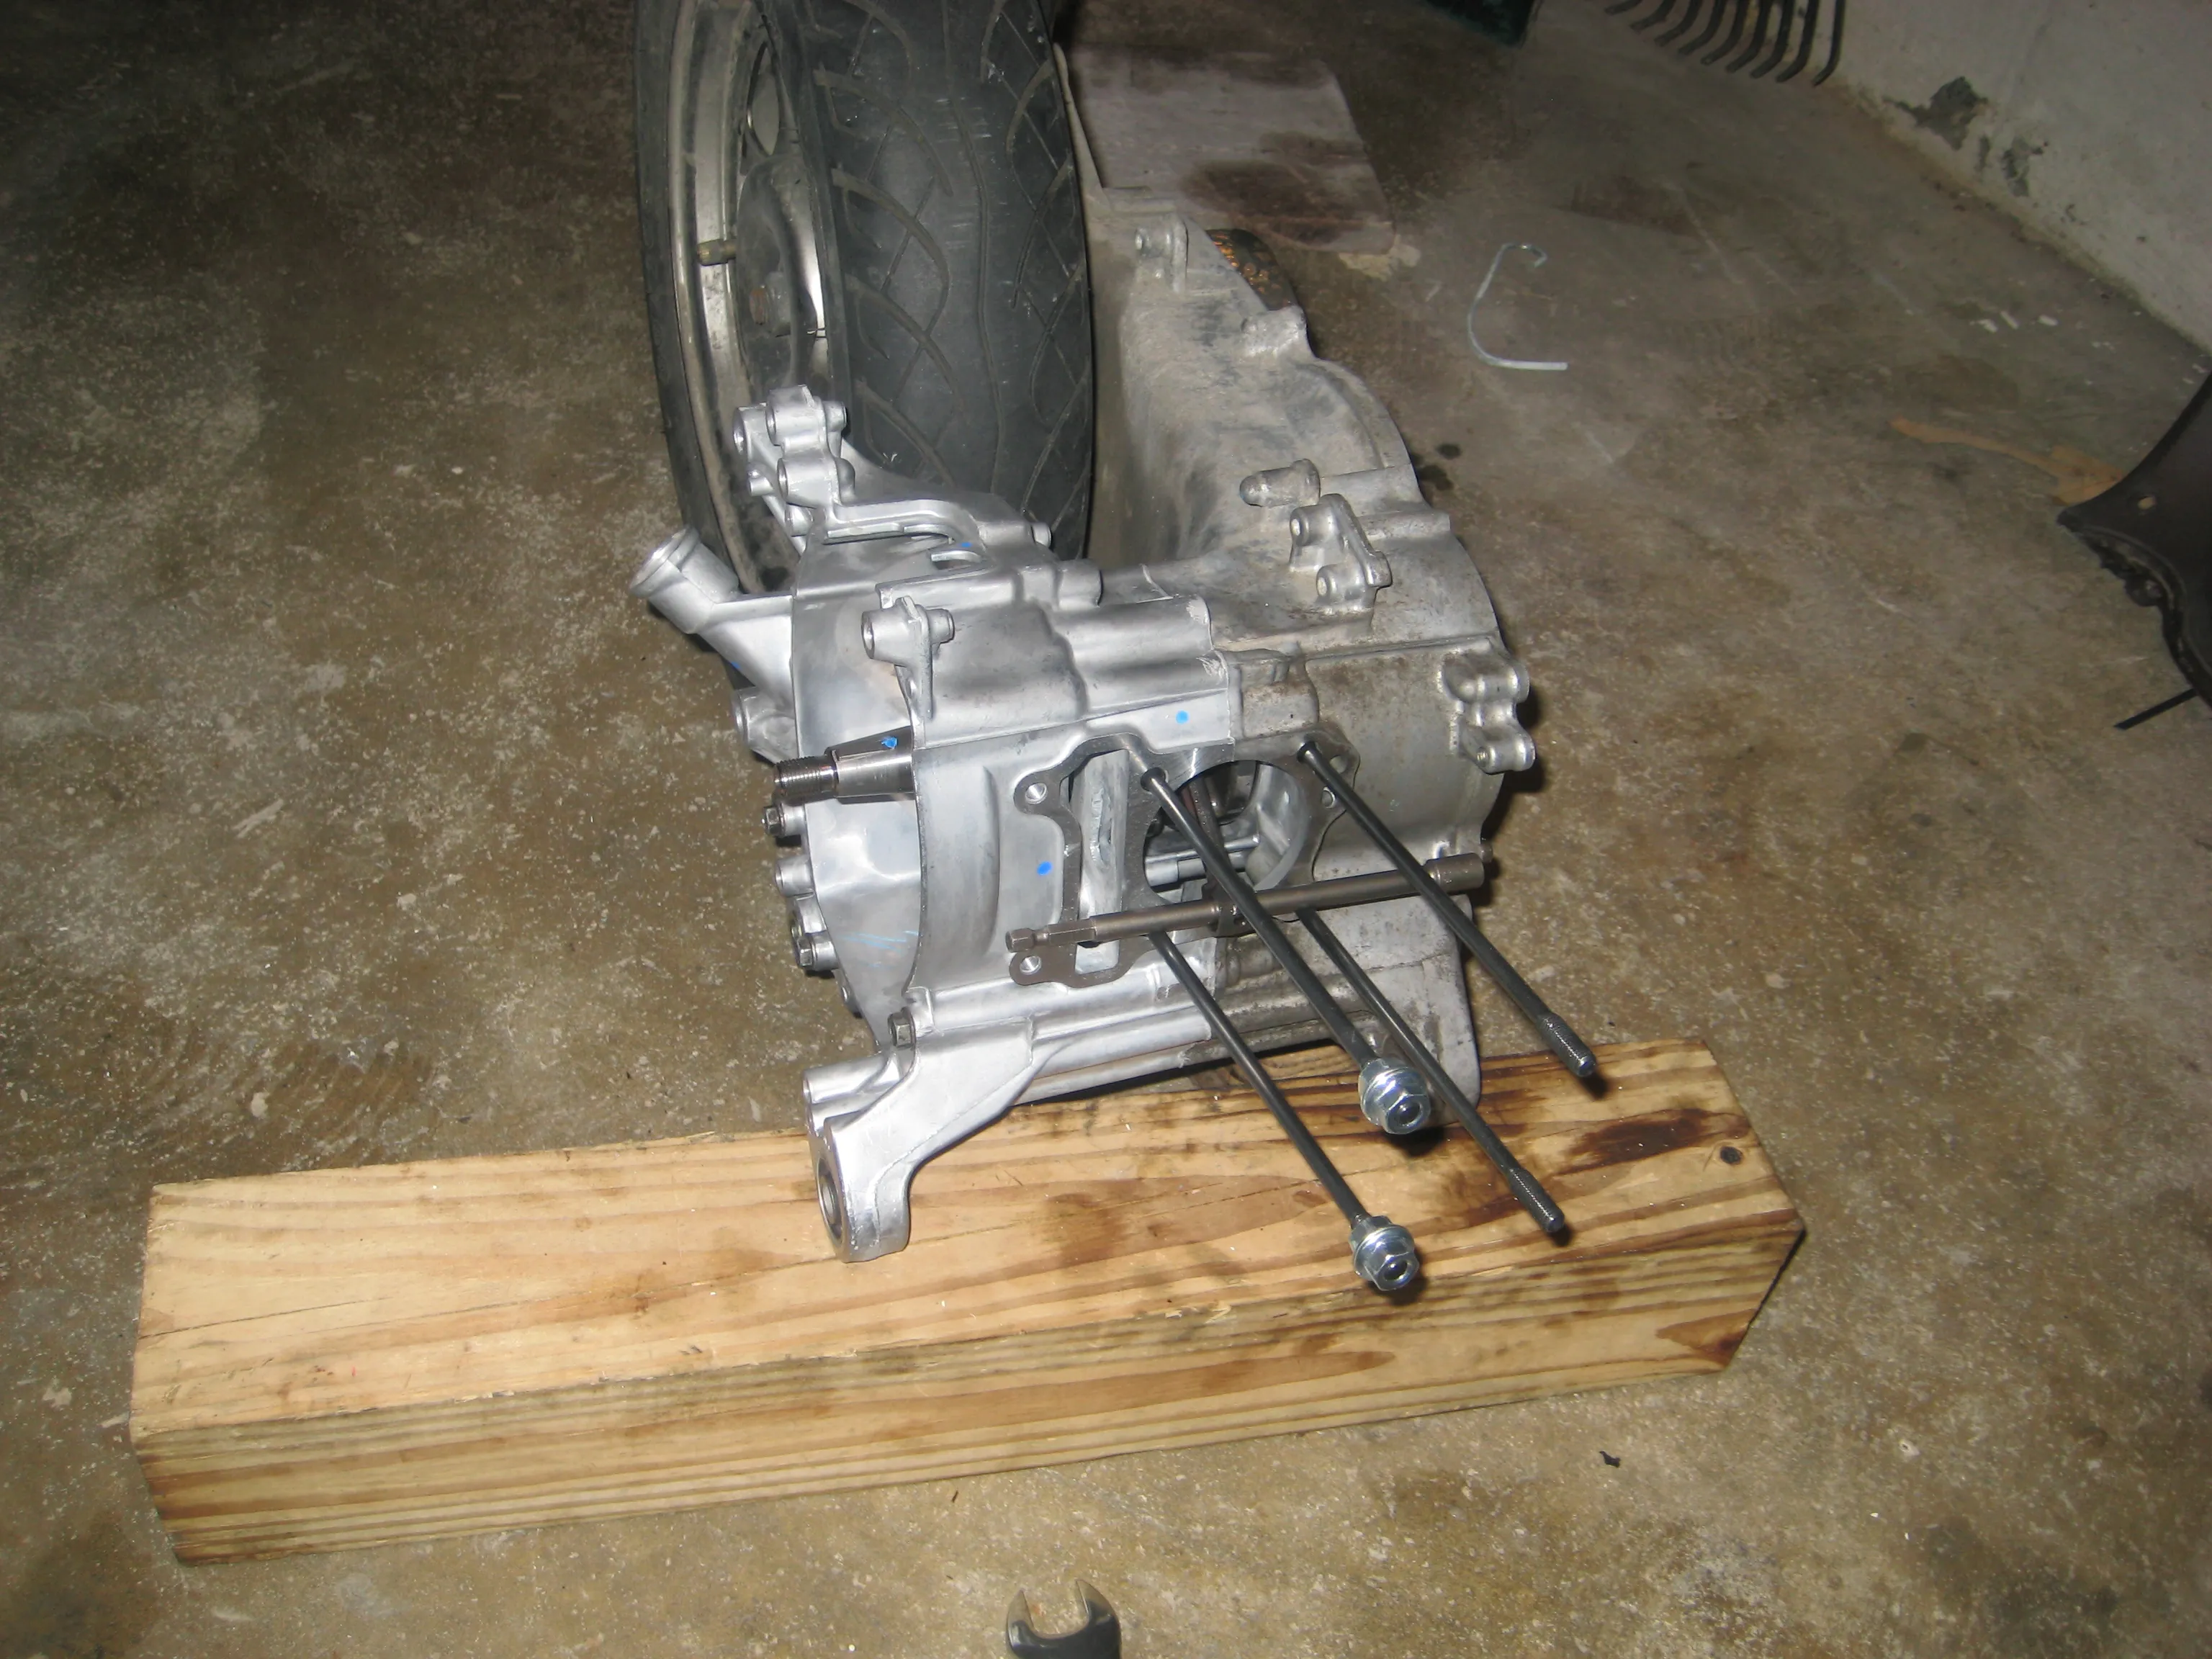
It was at this time I noticed the oil leaking from the right crankcase. After a lot of research, I determine it was best to just replace the right crankcase since a brand new one only cost $50 and would give me a good excuse to take apart the engine.
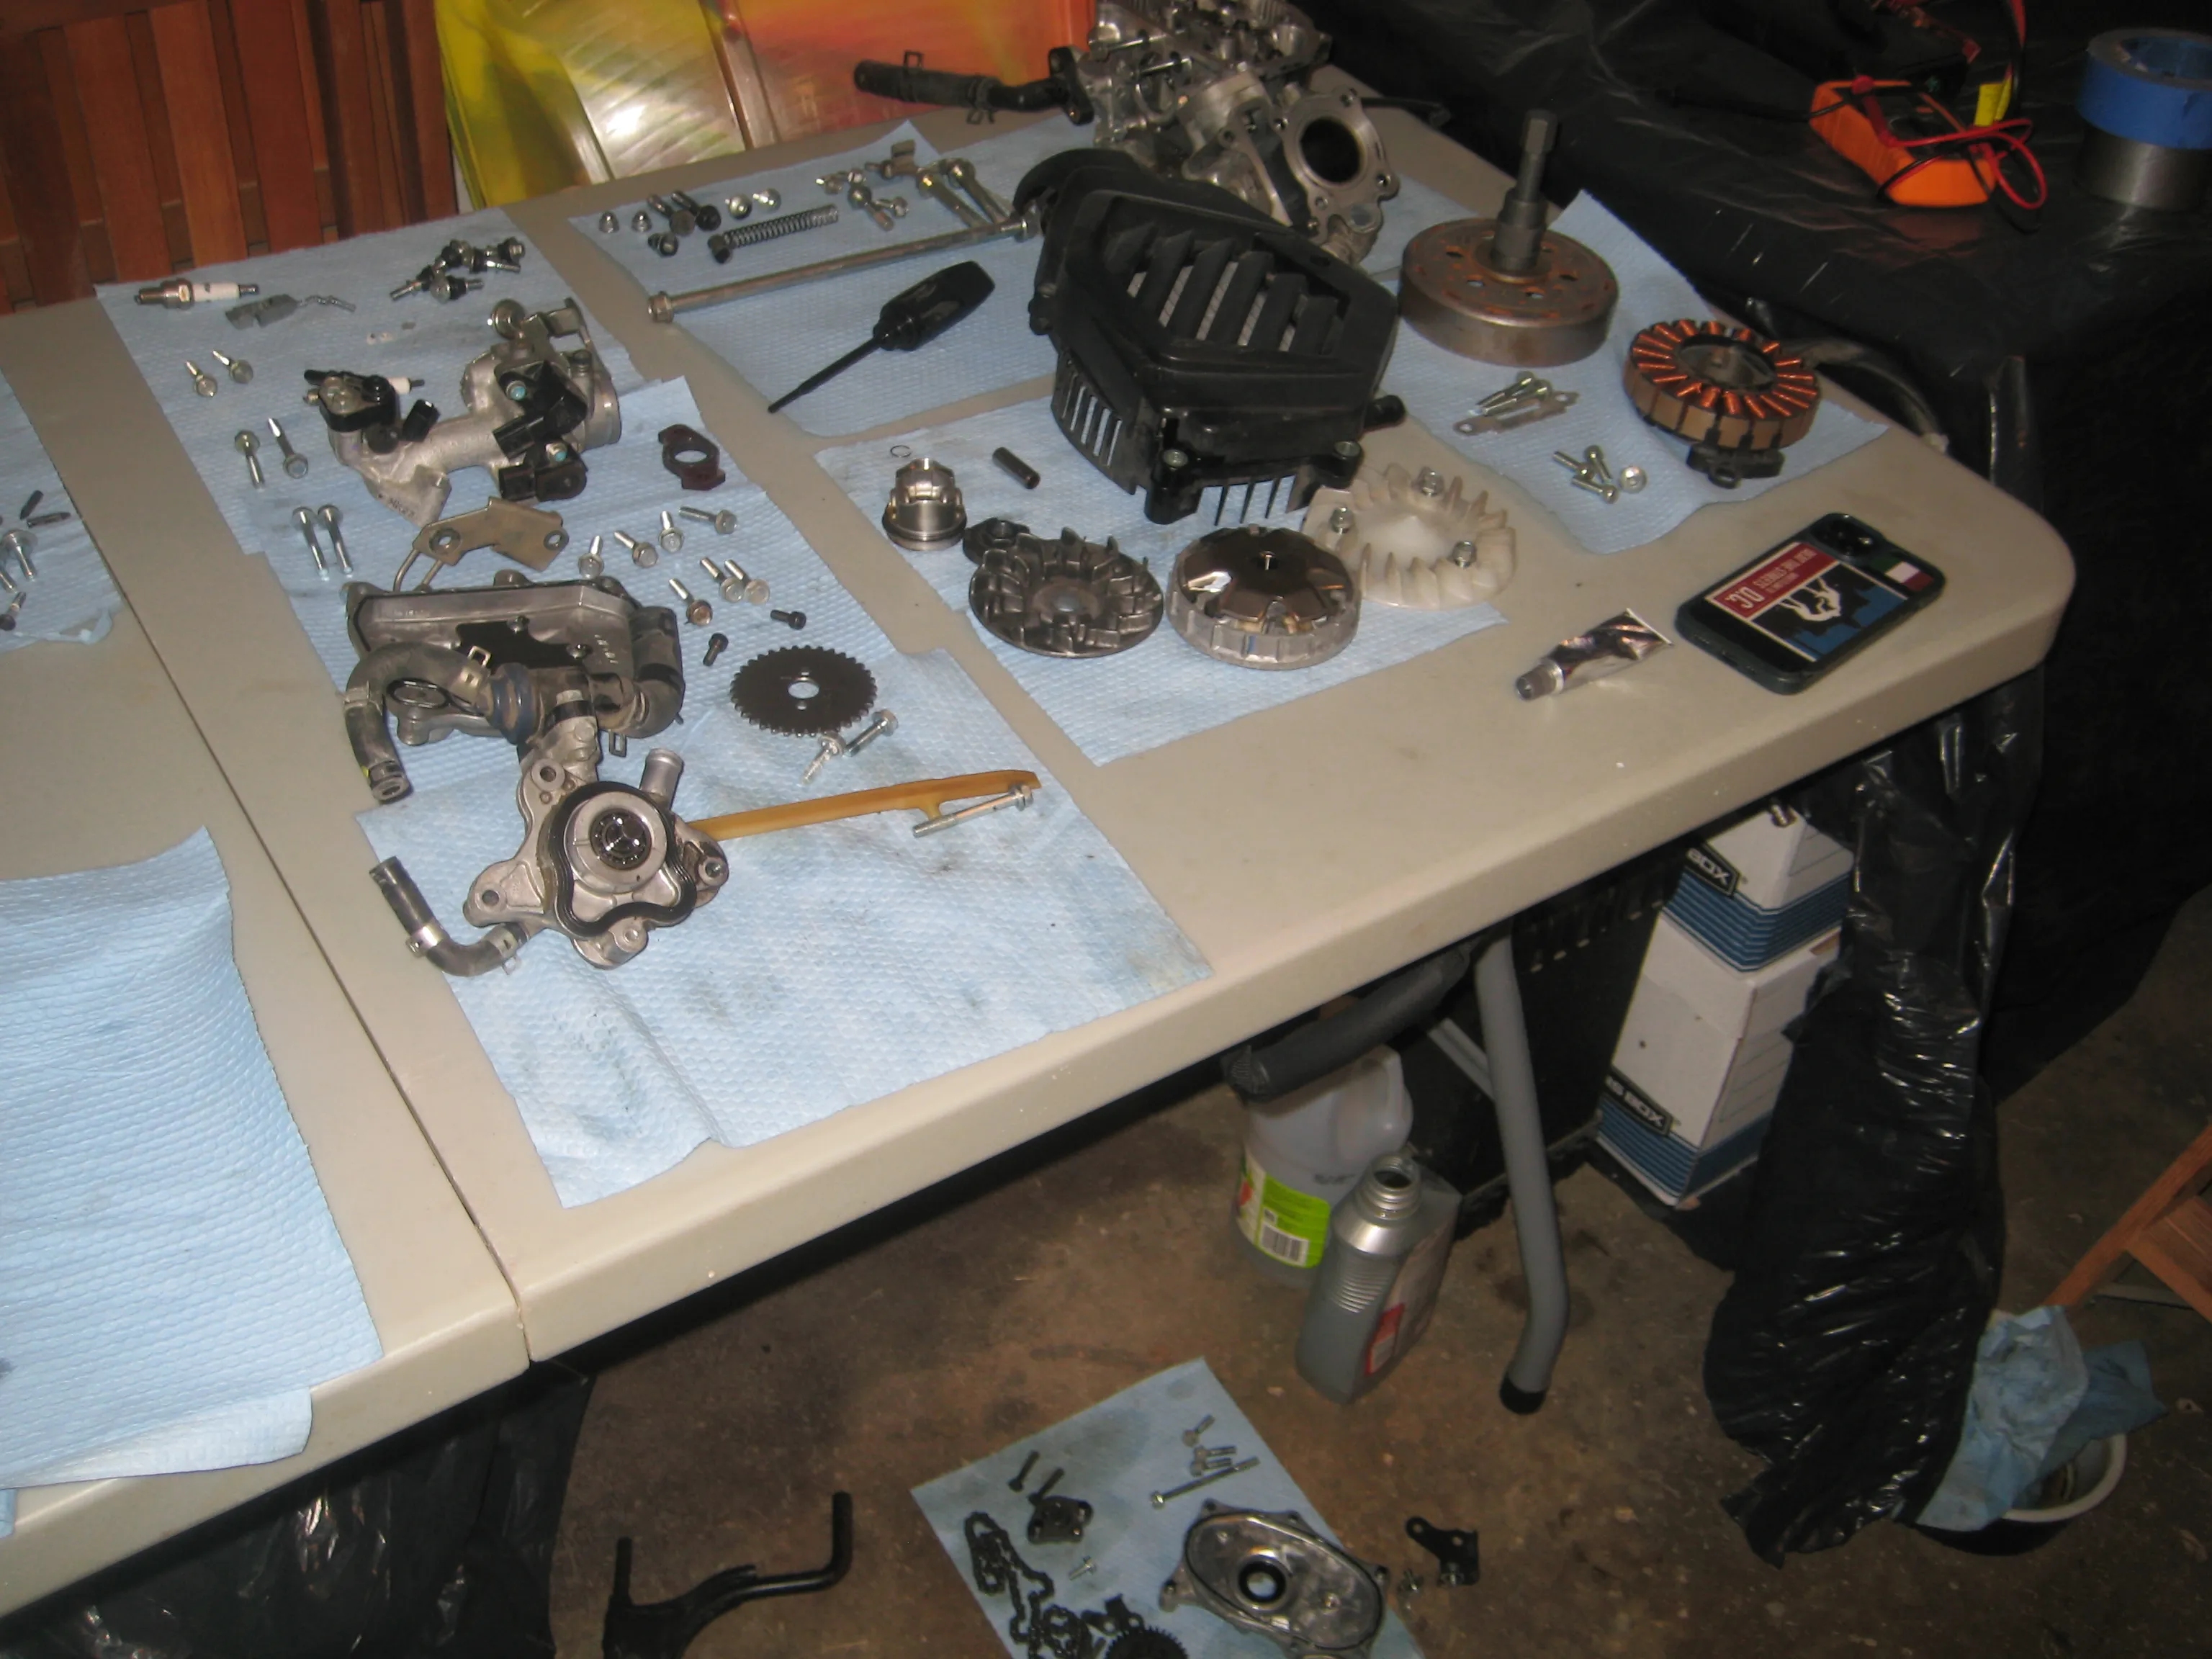
Following the disassembly steps outlined in the service manual I was able to split the case and switch out the right crankcase. Following the steps in reverse and checking to make sure I torqued each bolt to spec. The most challenging part of the assemble was setting the timing with the cam chain and getting the spring back on the kickstand. In the disassembling process you have to drain the radiator, so the last step of reassembling was adding and bleeding air for the radiator, along with putting oil back in the engine.
After reassembling I had the new battery, so I no longer needed the jumpstart. I also had a new air filter. When I started engine it came alive imminently. I start the engine with both the electric start or a single kick from the kickstarted Before the engine rebuild I was only able to start the engine with the electric start. I also no longer needed to use carb cleaner. This led me to determine that there was originally a compression problem.
I put the floor panel on and the seat and took it for a test spin. After about 2 miles the overheating light came on so I stopped imminently and pushed the moped back to my gauge and started researching what might causes overheating. There were a couple reasons this might’ve happened but luckily the first thing I check was the cause. I had initially filled the coolant reservoir to the “max” line when refiling the radiator system. However, this was no empty meaning I probably didn’t bleed the system correctly so I re-read how to bleed the system and then refill and rebleed the system. The second test ride showed no issues, aside from still not having one of my breaks.
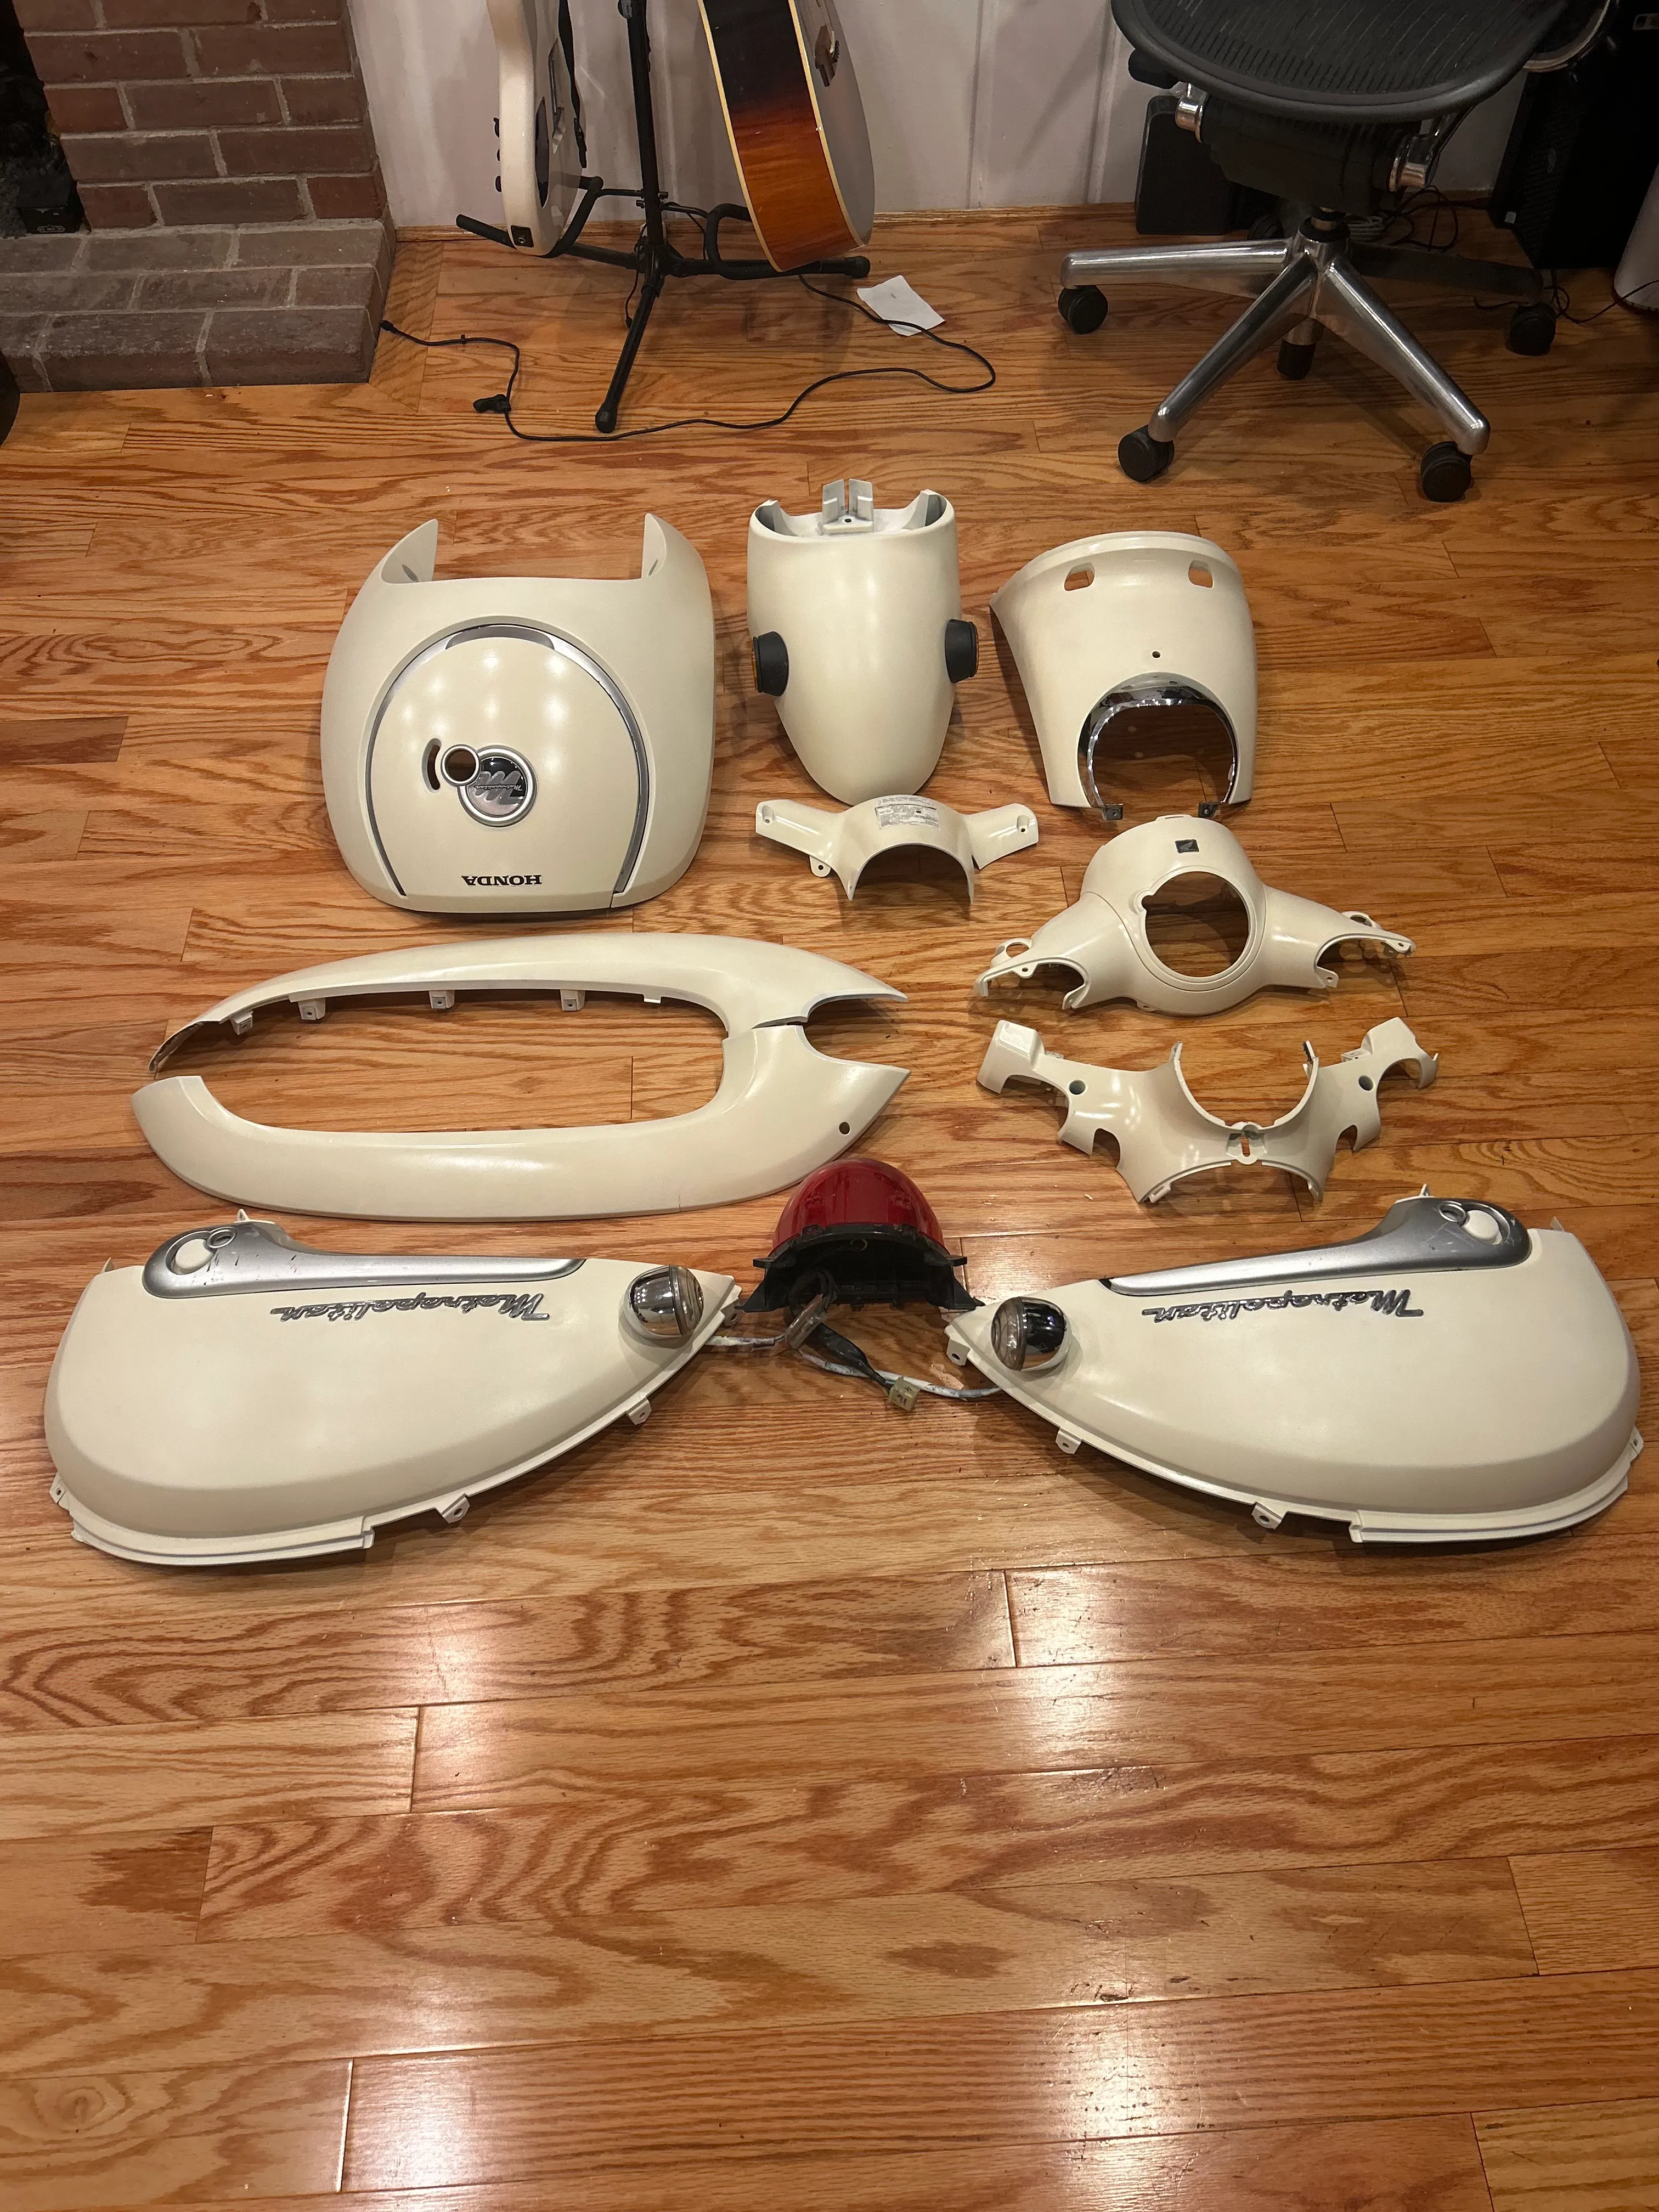
The next step was ordering all the missing parts and repainting the body. This involved a lot of sanding… I hate sanding… it took two days to do by hand. The painting process consisted of sanding the black paint off, spraying primer, then spraying the actual paint, and finally spraying a clear coat. I put the body panels back on, put the missing parts on, replaced the taillight and I was done.
What I learned
I learned what is needed for a four-stroke combustion engine to function. This gave me a deep understanding of how each stage operates and how it contributes to the overall performance of the engine.s
I learned how to read a service manual and trouble shoot. Many of the issues I faced throughout this project were things I had never encountered before. Because I was learning as I was going this project was hard but taught me important skills like self-reliance and that there is always a solution to a problem, you just have to keep trying.
I learned the steps for painting with spray paint. Spray painting pulled on my attention to detail string; after putting so much time and effort into the moped I wanted the paint job to be perfect so when something came out bad, I would redo that part.
I learned the importance of a good color coded and visual wire diagram. If I was prototyping something and I decided to use one color wire and something broke it would be incredible difficult to follow the line that is faulty.
I learned how to use a great deal of tools. I also learned how to improvise when I didn’t have the right tool and didn’t’ feel like buying the very specific tool for the very specific job. This helped me expand my creativity.